Setting Up Google Shopping for Australian Retail Businesses
If you sell products online, Google Shopping is one of the most powerful ways to get your products in front of customers who are ready to buy. When someone searches for a product on Google, Shopping results appear prominently at the top of the page with product images, prices, and store names.
For Australian retail businesses, Google Shopping can drive significant traffic and sales. The visual format means your products stand out in search results, and because shoppers can see your price before clicking, the traffic you receive is highly qualified — people who click through already know your product and price.
This guide walks you through setting up Google Shopping for your Australian business, from creating your account to launching your first campaign.
How Google Shopping Works
Unlike regular Google Ads where you bid on keywords and write text ads, Google Shopping works differently:
- You upload your product data (title, description, price, image, etc.) to Google Merchant Center
- Google uses that data to automatically show your products when people search for relevant terms
- When someone clicks your product listing, they go directly to your product page
- You pay per click, similar to regular Google Ads
Google determines which searches trigger your products based on your product data, not keywords you choose. This makes your product feed critically important.
There are also free listings available. In 2020, Google opened up free product listings in the Shopping tab. While paid Shopping ads appear more prominently, free listings provide additional visibility at no cost.
Step 1: Set Up Google Merchant Center
Google Merchant Center is where you upload and manage your product data.
Create Your Account
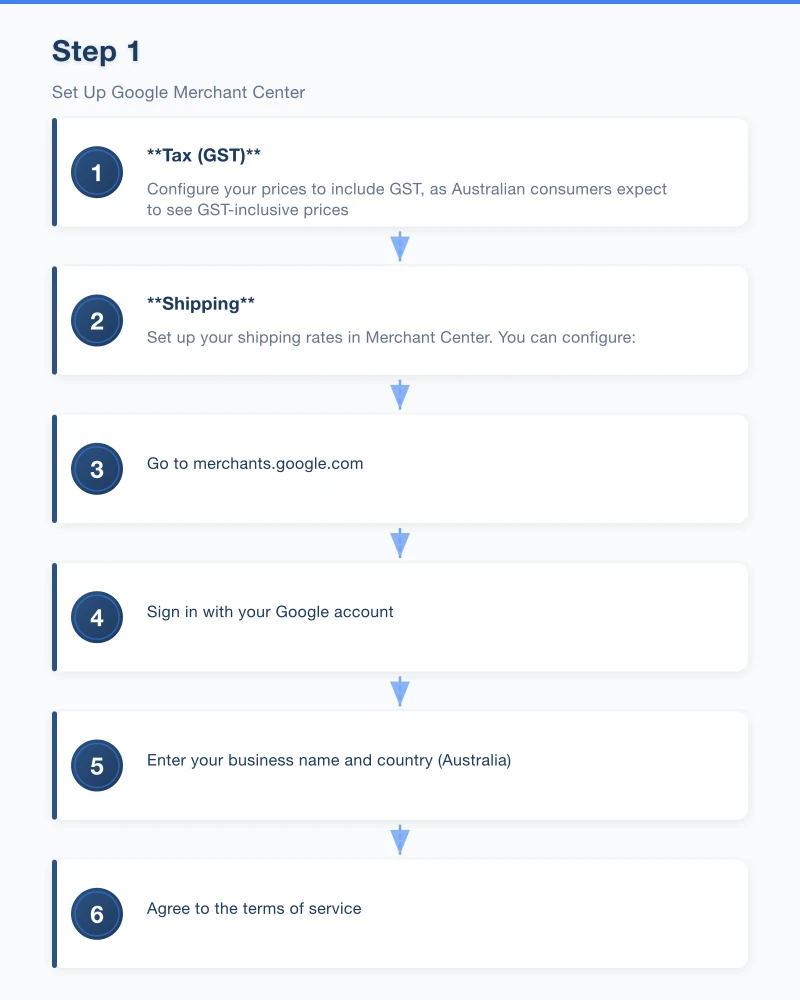
- Go to merchants.google.com
- Sign in with your Google account
- Enter your business name and country (Australia)
- Agree to the terms of service
Verify and Claim Your Website
You need to prove you own your website:
- In Merchant Center, go to “Business information” then “Website”
- Enter your website URL
- Choose a verification method:
- Add an HTML tag to your website header (simplest for most)
- Upload an HTML file to your server
- Use Google Tag Manager
- Use Google Analytics
- Click “Verify” and then “Claim”
Set Up Tax and Shipping
For Australian businesses:
- Tax (GST): Configure your prices to include GST, as Australian consumers expect to see GST-inclusive prices
- Shipping: Set up your shipping rates in Merchant Center. You can configure:
- Flat rate shipping
- Free shipping
- Calculated rates based on weight or order value
- Different rates for different regions
Accurate shipping information is essential. Mismatched shipping costs between your Merchant Center settings and your website can get your account suspended.
Step 2: Create Your Product Feed
Your product feed is a file containing all the information about your products. This is the most important element of Google Shopping — the quality of your feed directly determines your results.
Feed Methods
There are several ways to get your product data into Merchant Center:
Automatic feed from your platform: If you use Shopify, WooCommerce, BigCommerce, or similar platforms, there are plugins and integrations that automatically sync your product data with Merchant Center.
- Shopify: Google Channel app
- WooCommerce: Google Listings and Ads plugin
- BigCommerce: Google Shopping integration
Manual feed upload: Create a spreadsheet (Google Sheets or CSV) with your product data and upload it to Merchant Center.
Content API: For larger catalogues or custom platforms, you can use Google’s Content API to sync product data programmatically.
For most small to medium retailers, using your e-commerce platform’s integration is the easiest approach.
Required Product Data Fields
Every product in your feed needs these fields:
id: A unique identifier for each product
title: Your product name. This is crucial for matching searches. Be descriptive and include key details (brand, colour, size, material).
- Good: “Nike Air Max 90 Men’s Running Shoes - Black/White - Size 10”
- Weak: “Running Shoes”
description: A detailed product description. Include features, benefits, specifications, and relevant keywords naturally.

link: The URL of the product page on your website
image_link: A high-quality product image URL. Images should be clear, well-lit, and show the product on a white or neutral background. Minimum 100 by 100 pixels, recommended 800 by 800 or larger.
price: The product price including GST, in AUD. Format: “49.95 AUD”
availability: Whether the product is in stock, out of stock, or available for preorder.
brand: The product brand
condition: new, refurbished, or used
gtin: The product’s barcode number (EAN, UPC, or ISBN). If you do not have one, you can use the MPN (manufacturer part number) instead.
Optional but Recommended Fields
sale_price: If the product is on sale, include the sale price product_type: Your own categorisation (helps Google understand your products) google_product_category: Google’s product taxonomy category color: Product colour size: Product size material: Product material shipping_weight: Product weight for shipping calculations additional_image_link: Additional product images (up to 10)
Feed Optimisation Tips
Titles are critical: Your product title is the most important factor in determining when your products appear. Front-load the most important information (brand, product type, key attributes).
Use high-quality images: Products with clear, professional images get more clicks. Avoid watermarks, promotional text overlays, or cluttered backgrounds.
Keep prices accurate: Your Merchant Center price must match your website price exactly. Discrepancies can lead to disapprovals or account suspension.
Update regularly: If your inventory, prices, or product details change frequently, make sure your feed updates automatically. Stale data leads to disapprovals.
Step 3: Link Merchant Center to Google Ads
To run paid Shopping campaigns, you need to link your Merchant Center account to Google Ads.
- In Merchant Center, go to Settings then “Linked accounts”
- Click “Google Ads”
- Enter your Google Ads customer ID
- Send a link request
- Accept the request in your Google Ads account
If you do not already have a Google Ads account, create one at ads.google.com.
Step 4: Enable Free Product Listings
Before setting up paid campaigns, enable free listings to get additional visibility at no cost.
- In Merchant Center, go to “Growth” then “Manage programs”
- Enable “Free product listings”
- Your approved products will start appearing in the Shopping tab of Google search results
Step 5: Create a Shopping Campaign in Google Ads
Standard Shopping Campaign Setup
- Log into Google Ads
- Click “New Campaign”
- Choose your campaign goal (Sales or Leads)
- Select “Shopping” as the campaign type
- Select your Merchant Center account
- Choose “Standard Shopping campaign”
- Set your daily budget (start modestly — $20 to $50 per day — and increase based on results)
- Set your bidding strategy (Manual CPC is recommended when starting, so you have control over how much you pay per click)
- Set your target locations (Australia, or specific states/regions)
- Create your first ad group
Smart Shopping Campaigns
Google also offers Smart Shopping campaigns that use automated bidding and placements. These can be effective once you have enough conversion data (typically after 20 or more conversions). For beginners, starting with Standard Shopping gives you more control and learning.
Budget Considerations
- Start with a modest budget to test and learn
- Monitor your cost per click and return on ad spend
- Increase budget gradually as you identify profitable products
- Some product categories are more competitive (and expensive) than others
Step 6: Monitor and Optimise
Key Metrics to Track
- Impressions: How often your products appear in search results
- Clicks: How many people click through to your product pages
- Click-through rate (CTR): The percentage of impressions that result in clicks
- Cost per click (CPC): How much you pay per click on average
- Conversions: How many clicks result in purchases
- Conversion rate: The percentage of clicks that convert
- Return on ad spend (ROAS): Revenue generated per dollar spent on ads
Optimisation Actions
Improve low-CTR products: If products get many impressions but few clicks, your titles, images, or prices might need improvement.
Adjust bids for top performers: Increase bids on products with strong ROAS to get more visibility. Decrease or pause bids on products that are not converting.
Review search terms: In Google Ads, check the search terms report to see what queries trigger your products. Add irrelevant terms as negative keywords to stop wasting budget.
Optimise product titles: Test different title formats. Moving brand name to the front or adding key attributes can improve performance.
Improve product images: Test different images. Clear product shots on white backgrounds typically outperform lifestyle or contextual images in Shopping ads.
Exclude unprofitable products: If certain products consistently cost more in advertising than they generate in profit, exclude them from your campaign.
Common Google Shopping Mistakes
- Poor product data: Incomplete or inaccurate product feeds lead to disapprovals and poor performance. Invest time in your feed quality.
- Price mismatches: Your Merchant Center price must exactly match your website price. Automated feed updates help prevent this.
- Low-quality images: Blurry, small, or cluttered product images get fewer clicks.
- Ignoring feed errors: Regularly check Merchant Center diagnostics for errors and warnings. Fix them promptly.
- Setting and forgetting: Shopping campaigns need regular monitoring and optimisation to perform well.
- No conversion tracking: Without conversion tracking, you cannot measure or optimise your return on investment. Set this up before you spend money.
- Starting with too large a budget: Begin modestly, learn what works, then scale.
Getting Started Checklist
- Create a Google Merchant Center account
- Verify and claim your website
- Set up shipping and tax settings
- Create or connect your product feed
- Resolve any product feed errors or disapprovals
- Enable free product listings
- Link Merchant Center to Google Ads
- Set up conversion tracking in Google Ads
- Create your first Shopping campaign with a modest budget
- Monitor and optimise weekly
Is Google Shopping Right for Your Business?
Google Shopping works best for businesses that:
- Sell physical products online
- Have competitive pricing
- Have a functional e-commerce website
- Can maintain accurate product data
- Have products with clear search demand
If you are an Australian retailer selling products online, Google Shopping should be part of your marketing strategy. The combination of high purchase intent, visual product listings, and both free and paid options makes it one of the most effective e-commerce advertising channels available.
If you need help setting up Google Shopping for your business, our team works with retail businesses across Western Sydney and Australia. We can help you get your products in front of the right customers.
Modern retail runs on connected POS, inventory, and online channels. Cloud Geeks provides cloud and IT support that keeps Australian retail and hospitality businesses online during peak hours.
Ash Ganda covers digital strategy for retail and hospitality SMBs — what to automate, what to outsource, and where AI actually moves revenue.
Loyalty apps, mobile ordering, and customer-facing apps drive repeat business. Awesome Apps builds them for Australian retail and hospitality brands.
Part of the Ganda Tech Services family, Cosmos Web Tech delivers specialist web design and digital marketing for Australian small and medium businesses.