WordPress for Western Sydney Small Business: Complete Beginner’s Guide
You’ve heard that WordPress is the way to go for small business websites. Your mate who runs a cafe in Castle Hill has one. The accountant down the road in Bella Vista built their site with it. Even your plumber says his WordPress site brings in half his new customers.
But where do you even start? The good news is that getting your business online with WordPress is easier than you think, and you don’t need to be a tech wizard to do it.
Why WordPress Makes Sense for Local Businesses
WordPress powers over 40% of all websites on the internet, and there’s a good reason why. For Western Sydney small businesses, it offers three things that matter most:
It’s budget-friendly. The WordPress software itself is free. You’ll only pay for hosting (starting around $10-15 per month) and maybe a professional theme if you want something that looks polished from day one. Compare that to hiring a web developer who might charge $3,000-10,000 for a custom site.
You’re in control. Want to add a new service page? Update your opening hours? Add photos from your latest project? You can do it yourself, whenever you want, without waiting for (or paying) a developer.
It grows with you. Starting with a simple 5-page site? Perfect. Need to add online booking next year? There’s a plugin for that. Want to sell products down the track? WooCommerce has you covered. WordPress scales from day one to wherever your business goes.
What You Need to Get Started
Before we dive into the steps, let’s clear up what you actually need. Think of building a WordPress site like setting up a shop:
- Domain name (your web address, like “yourbusiness.com.au”) - This is your street address
- Web hosting (where your website files live) - This is the building itself
- WordPress (the software that runs your site) - This is your shop fitout and systems
- Theme (how your site looks) - This is your interior design
- Plugins (add extra features) - These are the tools and equipment you add
The total setup cost? You can get started for under $150 for the first year, including a domain name, hosting, and a professional theme.
Step 1: Choose Your Web Hosting
Your hosting provider is where your website lives on the internet. For Western Sydney small businesses, here’s what to look for:
Australian servers matter. When your hosting is based in Australia, your site loads faster for local customers. That matters for Google rankings and for keeping visitors on your site. Look for hosts with Sydney or Australian data centers.
Managed WordPress hosting is your friend. These hosting plans are specifically designed for WordPress. They handle the technical stuff like security updates and backups automatically. You focus on your business, not server management.
Recommended hosts for beginners:
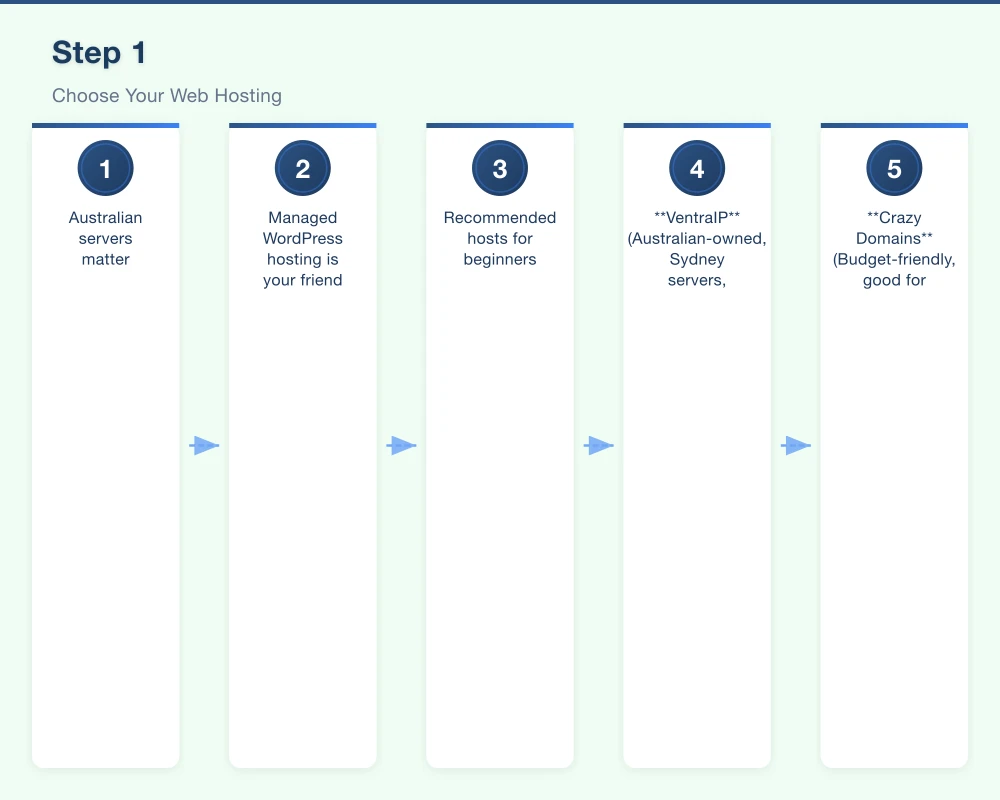
- VentraIP (Australian-owned, Sydney servers, excellent local support)
- Crazy Domains (Budget-friendly, good for starting out)
- SiteGround (Not Australian, but has Sydney servers and great WordPress tools)
For most small businesses, a plan around $10-20 per month is perfect to start. That typically includes your domain name for the first year, SSL certificate (the padlock in your browser), and email accounts.
Pro Tip: Look for hosts that offer “one-click WordPress installation.” This makes Step 2 much easier.
Step 2: Install WordPress
If you chose a host with one-click WordPress installation (most do now), this step takes about 5 minutes:
- Log into your hosting control panel (they’ll email you login details after you sign up)
- Find the WordPress installer (usually called “WordPress” or “One-Click Apps”)
- Click install and fill in some basic details:
- Site name (your business name)
- Admin username (pick something secure, not “admin”)
- Admin password (use a strong one - let your browser generate it)
- Admin email (your business email)
- Click finish
That’s it. WordPress is now installed. You’ll get a confirmation with your website address (yoursite.com.au) and your admin login page (yoursite.com.au/wp-admin).
Step 3: Pick a Theme (Your Site’s Look)
Your theme controls how your website looks. Think of it as choosing between a modern minimalist fit-out versus a warm traditional style for your physical shop.
Free vs Paid Themes
WordPress comes with several free themes, and there are thousands more available. For a professional business site, though, spending $50-80 on a quality paid theme is money well spent. You get:
- Professional design that looks polished
- Better customization options
- Responsive design (looks good on phones and tablets)
- Regular updates and support
- Pre-built page templates
Where to find themes:
- ThemeForest has thousands of options (look for ones with high ratings and recent updates)
- Astra and GeneratePress are popular, lightweight themes perfect for small business
- Divi is a powerful option if you want lots of design control (though it has a learning curve)
Installing your theme:
- Log into WordPress (yoursite.com.au/wp-admin)
- Go to Appearance > Themes
- Click “Add New”
- Either search for a free theme or click “Upload Theme” to install a paid one you’ve purchased
- Click “Activate”
Most modern themes include a demo import feature. This loads sample content so you can see how your site will look, then you just replace the sample text and images with your own.
Step 4: Essential Plugins to Install
Plugins add features to your WordPress site. Here are the must-haves for any Western Sydney small business:
Security & Maintenance
- Wordfence Security (free) - Protects your site from hackers and malware
- UpdraftPlus (free) - Backs up your site automatically to Google Drive or Dropbox
SEO & Performance
- Rank Math SEO (free) - Helps your site show up in Google searches
- WP Rocket (paid, $59) - Makes your site load faster (optional but worth it)
- ShortPixel (free tier available) - Compresses images so pages load quickly
Contact & Leads
- WPForms (free version works great) - Add contact forms so customers can reach you
- Really Simple SSL (free) - Ensures your site is secure (shows the padlock)
Installing plugins:
- Go to Plugins > Add New
- Search for the plugin name
- Click “Install Now”
- Click “Activate”
Pro Tip: Don’t go crazy with plugins. Each one adds to your site’s loading time. Stick to the essentials - quality over quantity.
Step 5: Create Your Core Pages
Every small business website needs these fundamental pages:
Home Page Your welcome mat. Include:
- What you do (clear headline)
- Who you serve (e.g., “Serving the Hills District for 15 years”)
- Key services or products
- Contact button or call-to-action
About Page Tell your story. Local businesses have an advantage here - talk about your connection to Western Sydney, your experience, why you started your business.
Services/Products Pages One page per main service or product category. Be specific about what you offer, who it’s for, and what customers can expect.
Contact Page Include:
- Contact form (using WPForms)
- Phone number (make it clickable for mobile users)
- Physical address if you have a shopfront
- Google Map
- Email address
- Business hours
Creating pages in WordPress:
- Go to Pages > Add New
- Add your page title
- Write your content (or paste it from a Word doc)
- Add images by clicking the ”+” icon and selecting Image
- Click “Publish” when you’re ready
Most themes let you choose different page templates. Your home page might use a “Full Width” template, while your About page uses a “Sidebar” template.
Step 6: Basic Security Setup
Taking 30 minutes to lock down your WordPress site will save you massive headaches down the track. Here’s the minimum you need to do:
Change your login URL (stops most automated hacking attempts)
- Install the “WPS Hide Login” plugin (free)
- Go to Settings > WPS Hide Login
- Change your login URL from “yoursite.com.au/wp-admin” to something like “yoursite.com.au/secure-access”
- Save it somewhere safe
Use strong passwords
- Go to Users > Profile
- Scroll to “Account Management”
- Click “Generate Password” - let WordPress create a strong one
- Save it in your browser or a password manager
Set up two-factor authentication
- Install “Two Factor Authentication” plugin (free)
- Follow the setup wizard to link it to your phone
- Now you need both your password AND your phone to log in
Enable automatic backups
- Open UpdraftPlus (you installed this earlier)
- Go to Settings tab
- Choose how often to back up (daily for active sites, weekly for simple sites)
- Select where to save backups (Google Drive is easiest)
- Click “Save Changes”
Getting Your Site Online
Once you’ve got your pages built, theme customized, and basic security sorted, it’s time to make your site public:
- Remove “Coming Soon” page (if your host added one)
- Check Settings > Reading and make sure “Discourage search engines” is UNCHECKED
- Test on your phone - over 60% of local searches happen on mobile
- Get a friend or family member to check it - fresh eyes spot typos and confusing bits
What You Should See Within 3 Months
If you’ve followed this guide, here’s what a typical Western Sydney small business sees:
- Your site shows up when people Google your business name
- Contact form inquiries start coming in (even just one or two a month is valuable)
- Customers mention they found you online
- You can update your own content without calling a developer
The key is starting simple and building from there. A 5-page site that’s actually online beats a perfect 20-page site that never launches because you got overwhelmed.
Common Questions from Local Business Owners
“How long does this actually take?” Setting up hosting and installing WordPress: 30 minutes. Choosing and activating a theme: 1 hour. Creating your core pages: 4-8 hours spread over a week or two. You can have a basic site live within a weekend if you focus on it.
“What if I break something?” That’s what backups are for. With UpdraftPlus running daily backups, you can restore your site to yesterday’s version with a few clicks. Plus, WordPress has a revision history for pages - you can undo changes easily.
“Do I need to learn to code?” Not at all. Modern WordPress page builders (many themes include one) let you drag and drop elements. Think of it like using Canva or Word - visual tools, not coding.
“Can I start with this and upgrade later?” Absolutely. Many of our local clients start with a DIY WordPress site and later hire us to polish it up or add features like online booking or ecommerce. Starting yourself means you understand how your site works, which makes you a smarter buyer if you do hire help later.
Your Next Steps
You now know everything you need to get a WordPress website online for your Western Sydney business. Here’s your action plan:
- This week: Choose a hosting provider and register your domain
- This weekend: Install WordPress and pick your theme
- Next week: Create your 5 core pages
- Week after: Set up security and go live
Remember, a simple site that’s live is infinitely more valuable than a perfect site that stays in planning mode. Start basic, get online, and improve as you go.
Your Hills District competitors who have websites? They started somewhere too. Today’s the day you join them.
Need help getting your WordPress site set up properly? Cosmo Web Technologies has been building websites for Western Sydney businesses since 2010. We offer WordPress setup packages starting from $800, or we can provide coaching sessions to help you DIY with confidence. Get in touch for a free 15-minute consultation.
Your website’s performance depends on what’s behind it. Cloud Geeks provides the managed hosting, cloud, and IT support that keeps Australian SMBs online and secure.
Ash Ganda covers how Australian SMBs are using AI, automation, and digital strategy to grow without scaling costs proportionally.
If your business is also planning a customer-facing iOS or Android app — Awesome Apps builds cross-platform mobile apps for Australian SMBs.
Part of the Ganda Tech Services family, Cosmos Web Tech delivers specialist web design and digital marketing for Australian small and medium businesses.